Custom ISO
GoMami supports mounting custom ISO images, allowing you to install operating systems not available in the panel or use custom installation media.
Use Cases
- Install a specific Linux distribution version
- Install an OS not available in the panel
- Use custom pre-configured installation images
- Install network device operating systems (e.g., RouterOS)
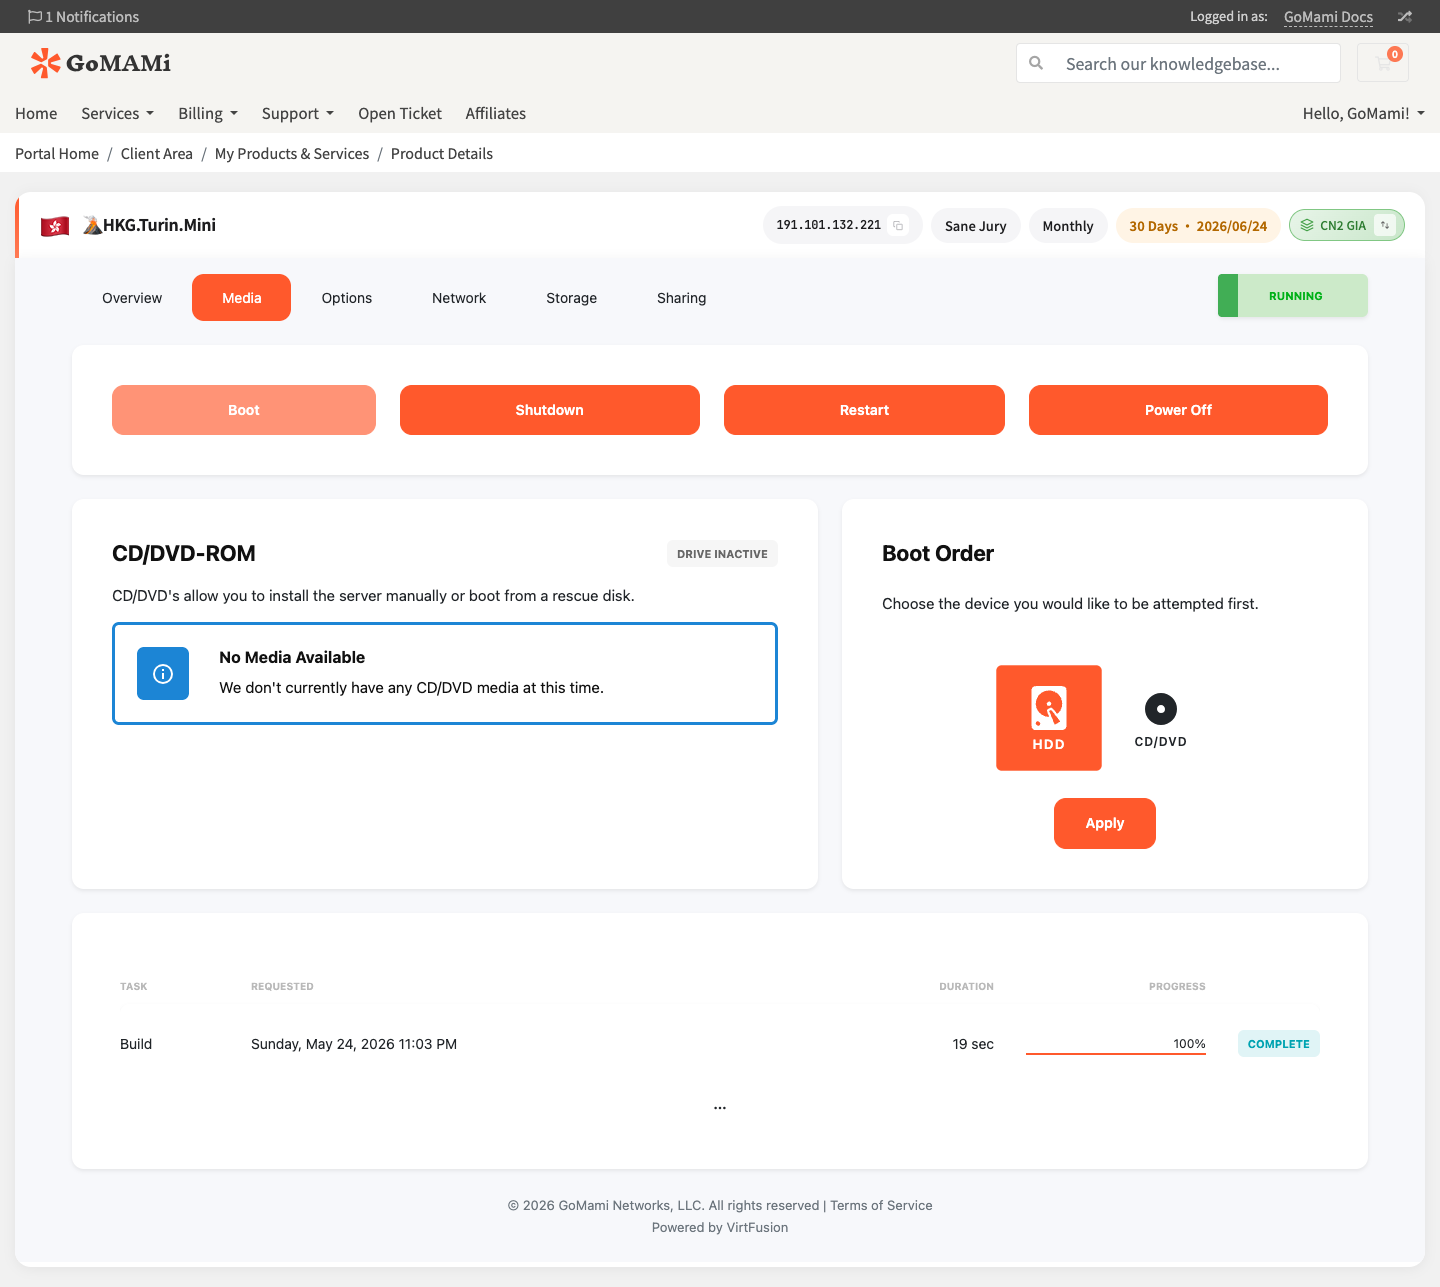
Viewing Available ISOs
- Log in to GoMami, go to the server control panel
- Click the Media tab
- View available ISO images in the CD/DVD-ROM section
- Adjust Boot Order to boot from CD/DVD
Mounting an ISO
- Select the ISO image to mount in the ISO Media section
- Click Mount
- Change boot order to CD-ROM
- Restart the server
info
After mounting an ISO, the server won't automatically restart. You need to manually restart and use the VNC console to complete the installation.
Installing from ISO
- Mount the target ISO image
- Change boot order to CD-ROM
- Restart the server
- Open the VNC console
- Follow the installation wizard
- After installation, unmount the ISO and change boot order back to Hard Disk
- Restart the server again
caution
Installing from ISO will overwrite existing data on the disk. Make sure to back up important files.
Unmounting an ISO
After installation, make sure to unmount the ISO:
- Click Unmount in the ISO Media section
- Change boot order back to Hard Disk
- Restart the server
tip
If you forget to unmount the ISO and the boot order is set to CD-ROM, the server will boot into the installer again instead of the normal system.
Via API
# List available ISOs
curl -X GET https://cp.gomami.io/api/server/{id}/iso \
  -H "Authorization: Bearer <your_api_token>"

# Mount ISO
curl -X POST https://cp.gomami.io/api/server/{id}/iso \
  -H "Authorization: Bearer <your_api_token>" \
  -H "Content-Type: application/json" \
  -d '{"iso_id": "<iso_id>"}'
Next Steps
- VNC Console — Complete installation via VNC
- Instance Settings — Change boot order