Purchase an Instance
This guide walks you through the process of purchasing a VPS instance.
Purchase Steps
1. Choose a Product Line and Location
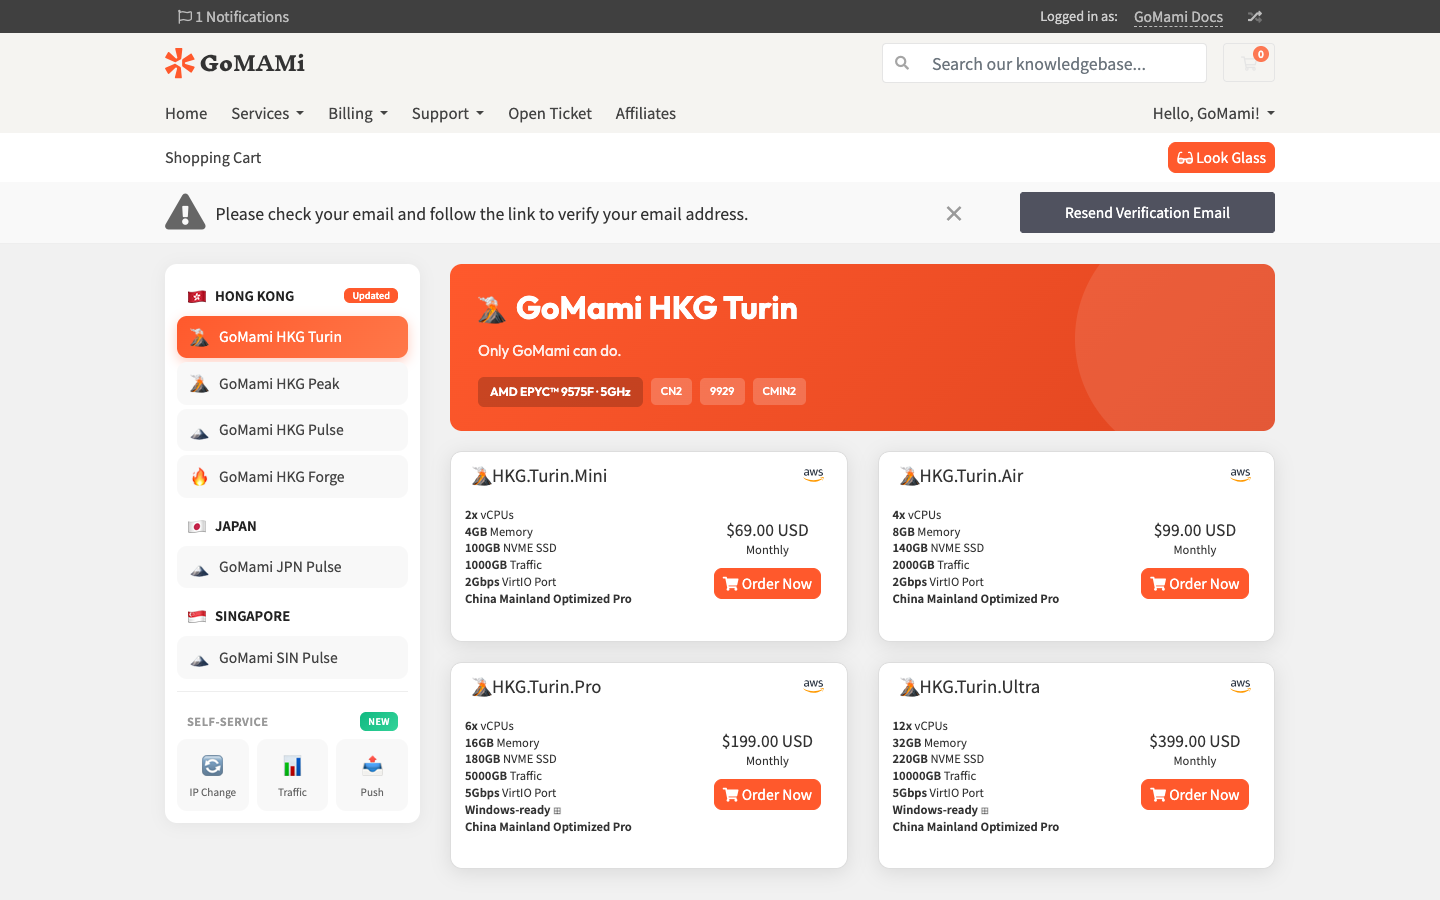
After logging in, select your desired node location and product line from the left sidebar. GoMami currently offers the following locations:
- HONG KONG - GoMami HKG Turin / HKG Pulse / HKG Forge
- JAPAN - GoMami JPN Pulse
- SINGAPORE - GoMami SIN Pulse
For example, selecting GoMami HKG Turin will display all available plans in that series.
2. Select a Plan
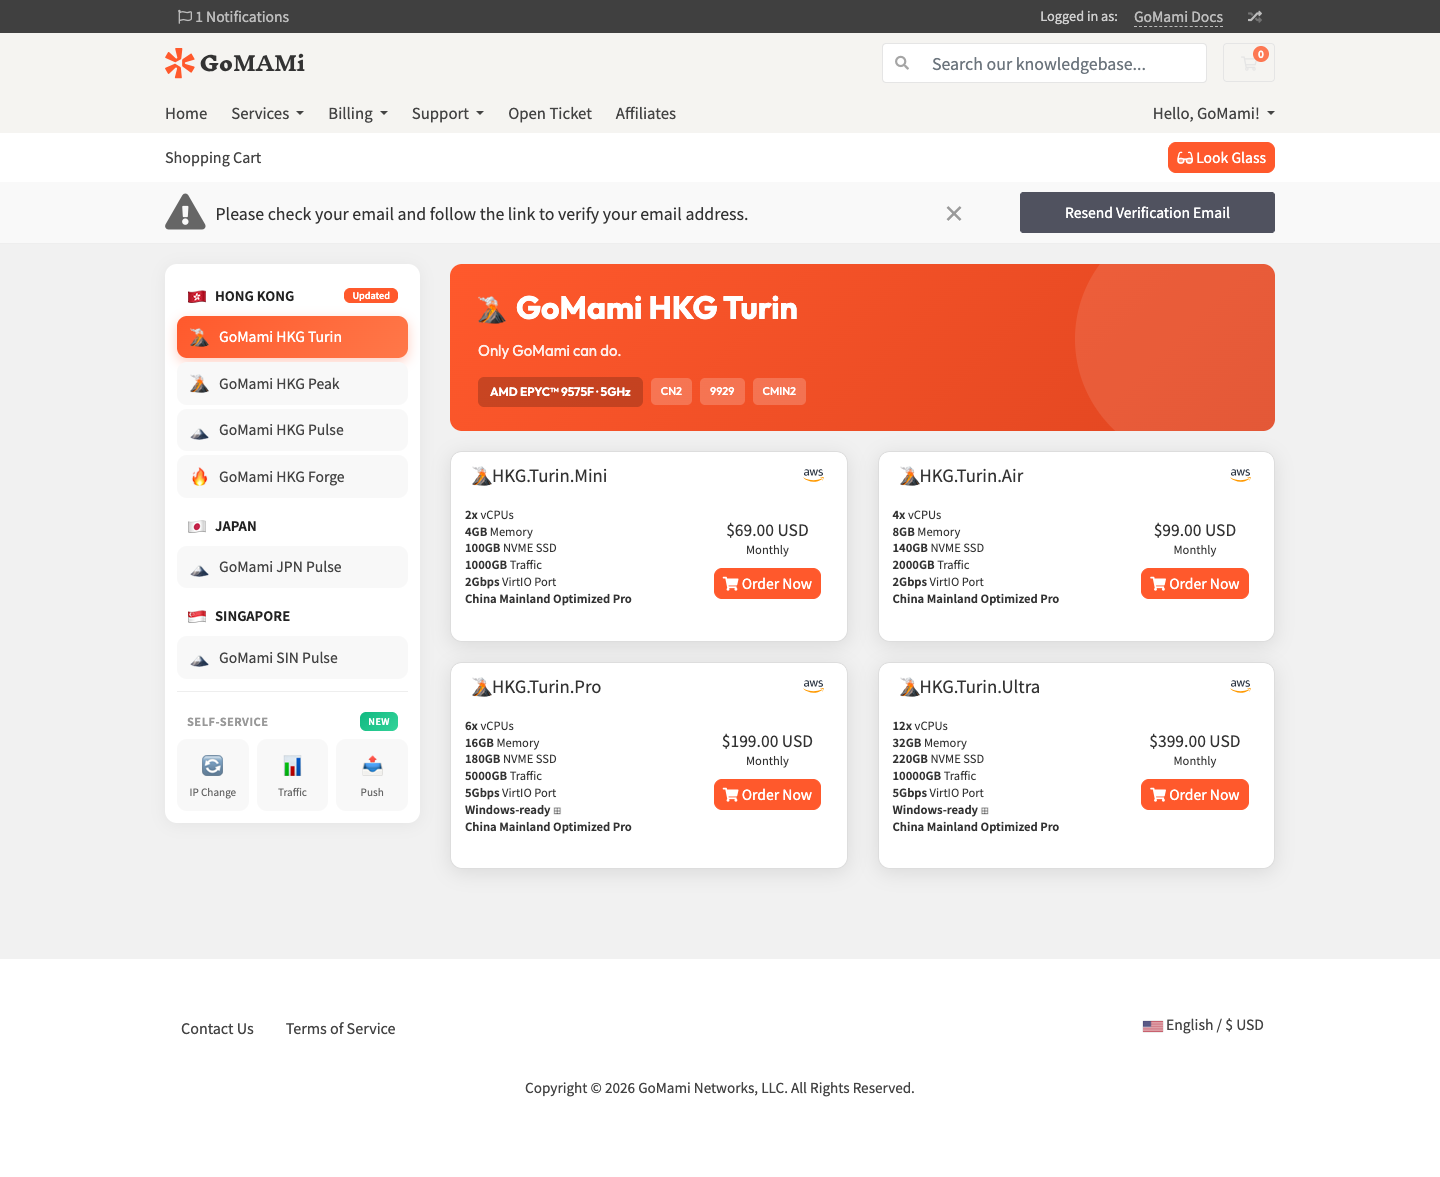
Browse the available plans with their specifications and pricing, then click Order Now on the plan that suits your needs.
For example, the HKG Turin series offers Mini / Air / Pro / Ultra plans:
3. Configure Your Order
On the Configure page, you can review the detailed specifications of your selected plan and choose a billing cycle:
- Choose Billing Cycle - Select your billing period (monthly, etc.)
The Order Summary panel on the right shows real-time cost breakdown.
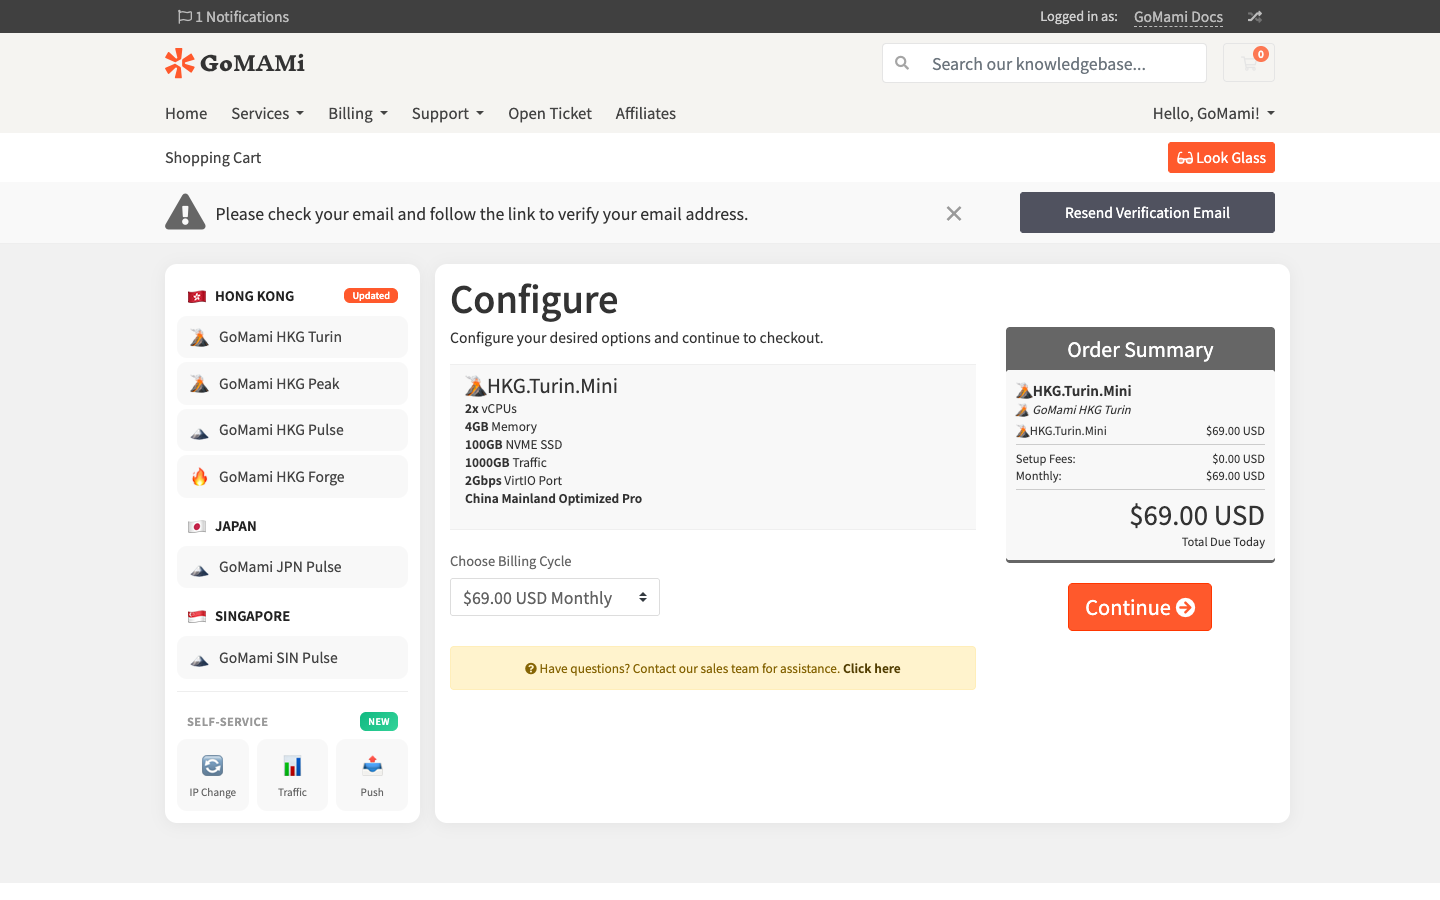
Once confirmed, click Continue to add the product to your cart.
Choosing a longer billing cycle usually offers better pricing.
4. Review Cart
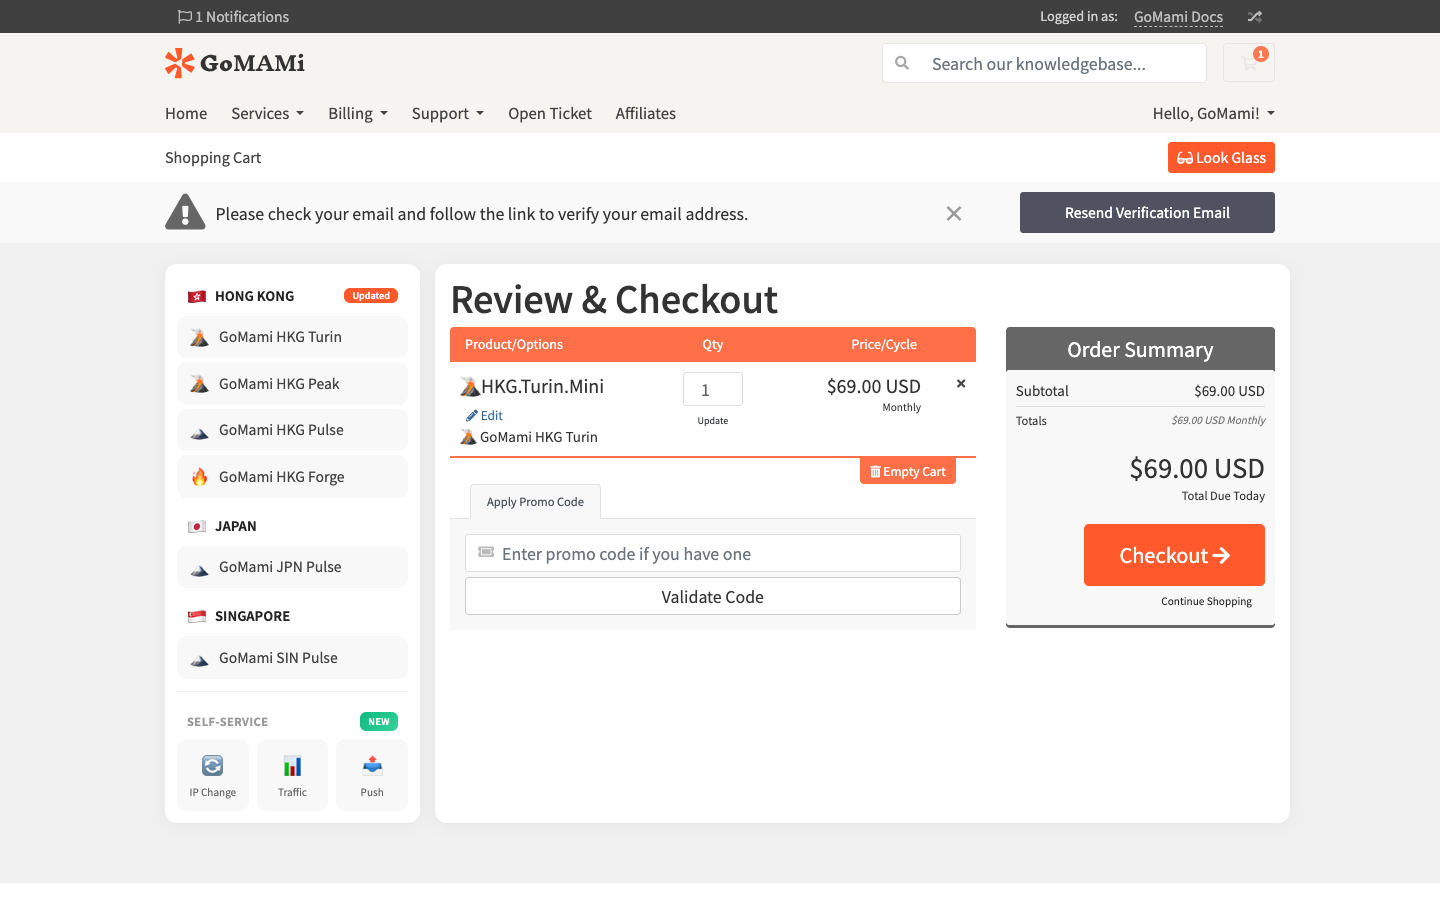
On the Review & Checkout cart page, you can:
- Verify the product and pricing
- Enter a Promo Code if you have one
- Click Checkout to proceed to payment
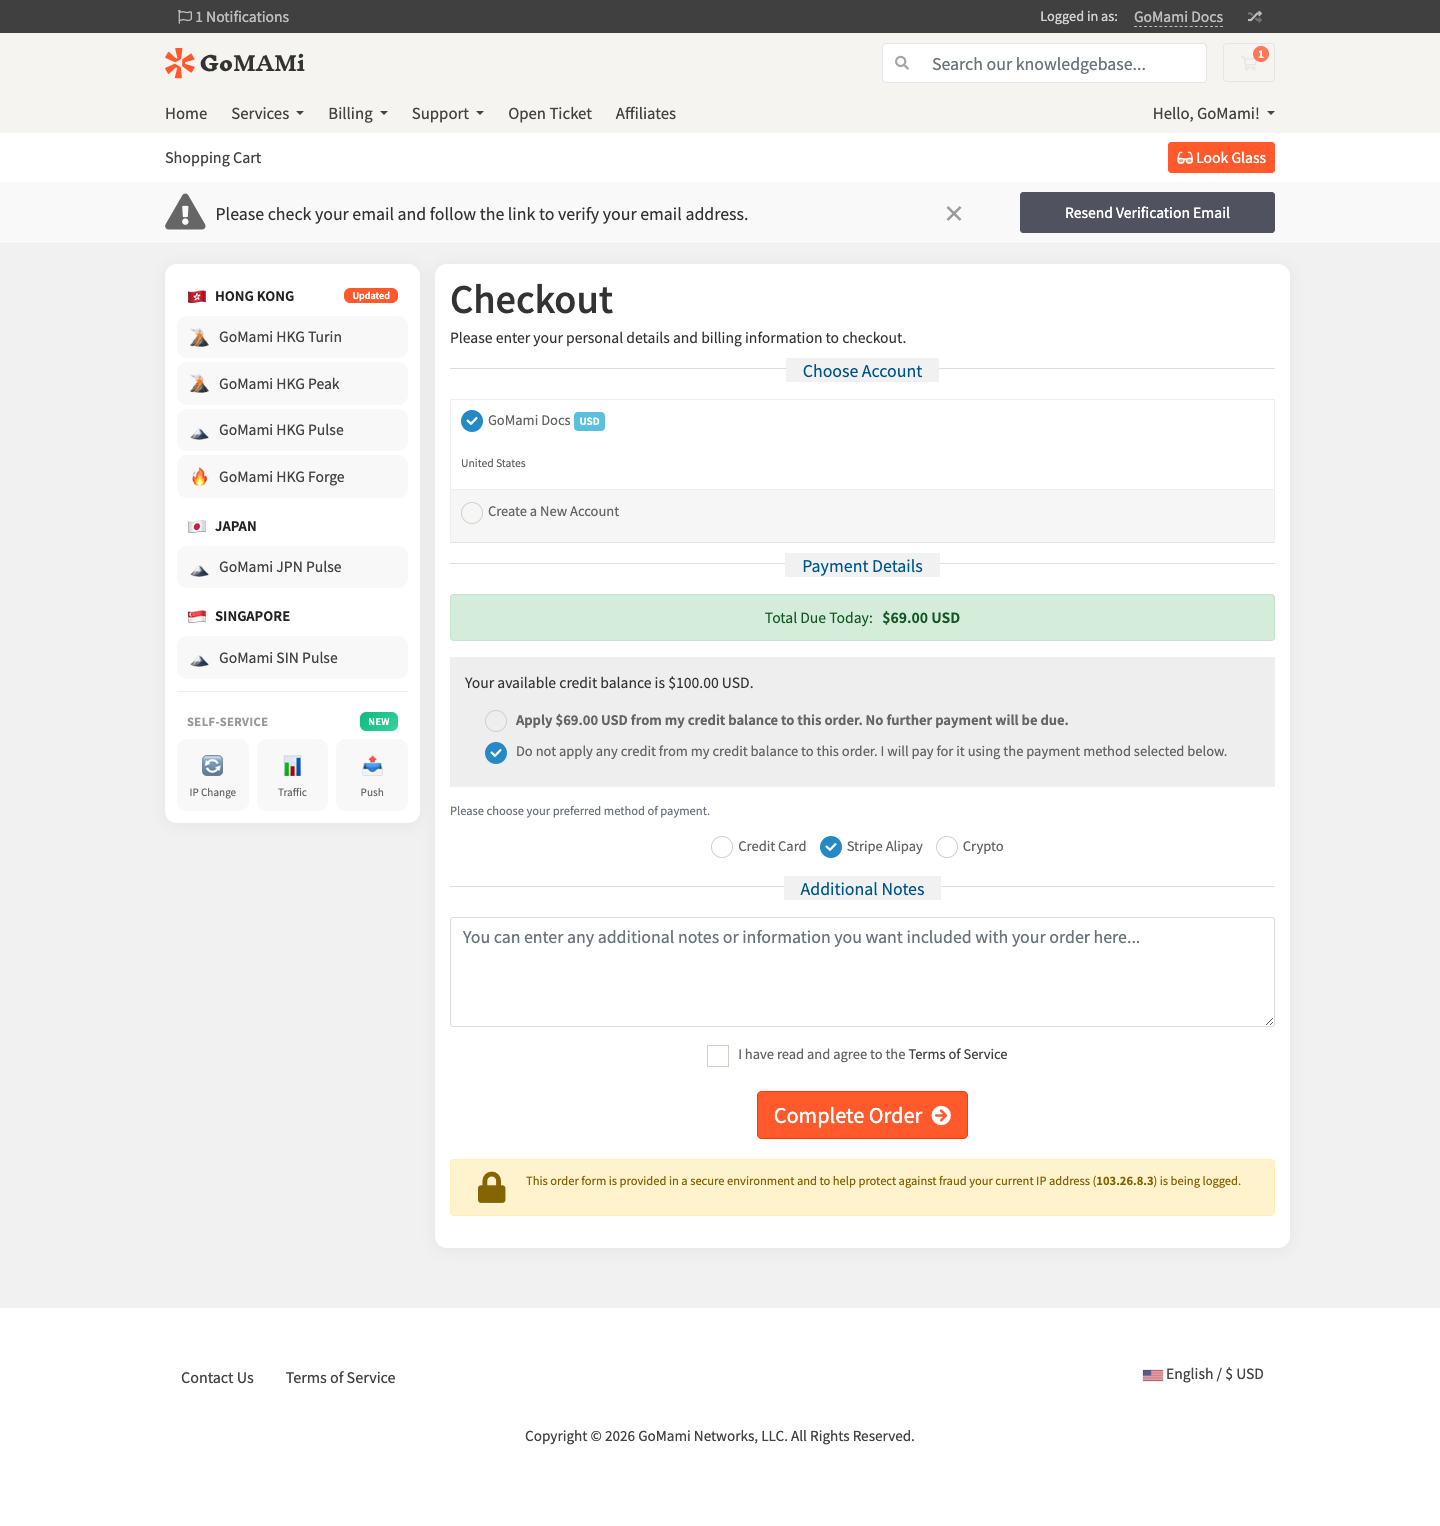
5. Complete Payment
On the Checkout page:
- Confirm your account information
- In the Payment Details section, choose your payment method:
- If you have account credit, you can apply it to the order
- Or select Credit Card / Stripe Alipay / Crypto
- Optionally add notes in Additional Notes
- Check I have read and agree to the Terms of Service
- Click Complete Order to submit
6. Wait for Deployment
After successful payment, the system will automatically begin deploying your VPS. Deployment typically completes within a few minutes. You'll receive an email notification with your server's IP address and login credentials.