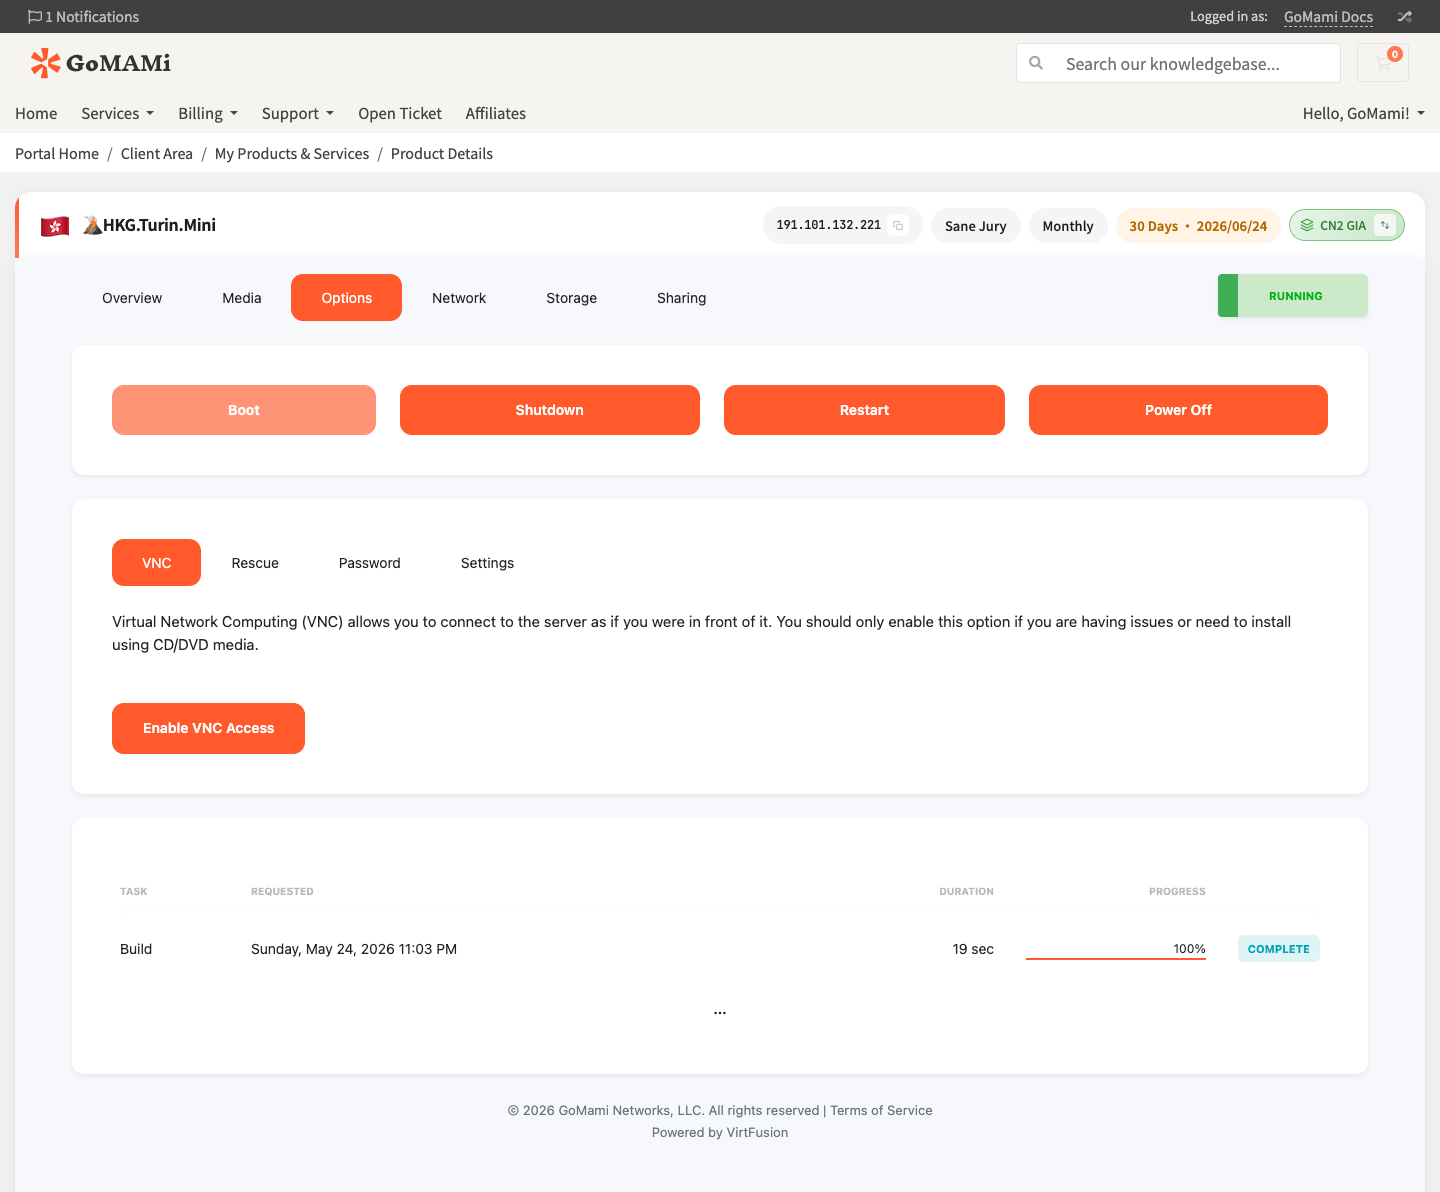
Rescue Mode
Rescue Mode allows you to boot the server from a temporary mini operating system, used to diagnose and repair a system that won't boot normally.
When to Use Rescue Mode
- Server won't boot normally
- Forgot root password and can't reset via panel
- Need to repair a corrupted filesystem
- Need to fix incorrect network or firewall configuration
- Need to recover accidentally deleted system files
Enabling Rescue Mode
- Log in to GoMami, go to the server control panel
- Click the Options tab
- Select the Rescue sub-tab
- Click Create Rescue Session
- The server will automatically reboot and connection details will be sent to your email
info
After enabling rescue mode, the server reboots into the rescue environment. A temporary root password will be displayed — make sure to note it down.
Using Rescue Mode
After connecting to the rescue environment, your original disk is not auto-mounted and needs manual mounting:
# View available disks
lsblk

# Mount the main partition (usually /dev/vda1)
mount /dev/vda1 /mnt

# View the mounted filesystem
ls /mnt
Fixing Common Issues
Fix fstab errors:
mount /dev/vda1 /mnt
nano /mnt/etc/fstab
Reset root password:
mount /dev/vda1 /mnt
chroot /mnt
passwd root
exit
Fix network configuration:
mount /dev/vda1 /mnt
# Check and fix network config files
nano /mnt/etc/netplan/01-netcfg.yaml
Exiting Rescue Mode
After repairs are complete:
- Make sure all mounted partitions are unmounted:
umount /mnt
- Return to the control panel and click Disable Rescue Mode
- The server will reboot to the normal system
caution
Before exiting rescue mode, ensure all changes are saved and filesystems are properly unmounted to prevent data corruption.
Via API
# Enable rescue mode
curl -X POST https://cp.gomami.io/api/server/{id}/rescue \
  -H "Authorization: Bearer <your_api_token>"
Next Steps
- VNC Console — If SSH doesn't work, access via VNC
- Reinstall OS — If the issue can't be fixed, consider reinstalling